What you will Learn:
- git checkout (to discard the changes)
- Importance of Github
- Create Git repository on GitHub
- Push local GIT repository to remote GitHub (git push)
Git checkout (to discard the changes)
‘git checkout <filename>’ is used to discard the changes in a file
The status command output now shows that there is nothing to commit
The diff command output now shows that nothing has changed
We have seen enough of Git, let us now move on to Github.
Importance of Github
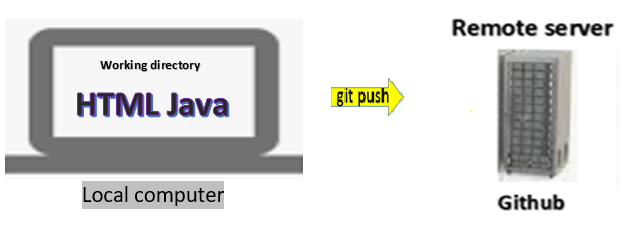
Remember that, so far, the entire code is present in our local machine’s working diretory. If our machine crashes, all of our work will get lost. So the solution would be to store our Git project in some remote server viz Github server using ‘git push’ command (re-visit previous tutorial’s ‘Git components’ section)
The ‘git push’ command takes copy of files from our local machine and it stores them into the remote Github server
The advantage here is that any developer from all around the world can contribute to the same Github repository
Please note: We have already created Git account in our previous tutorial
Also Read: Tutorial 4: Initialize GIT
Create Git repository on GitHub
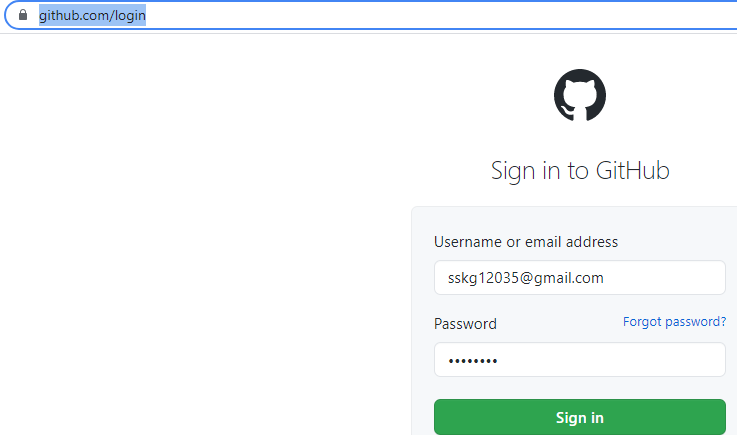
Launch https://github.com/login and login to your GitHub account
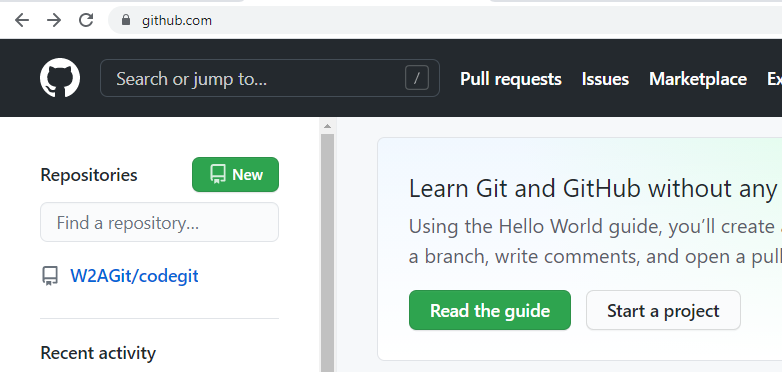
The below page comes up
Click ‘New’
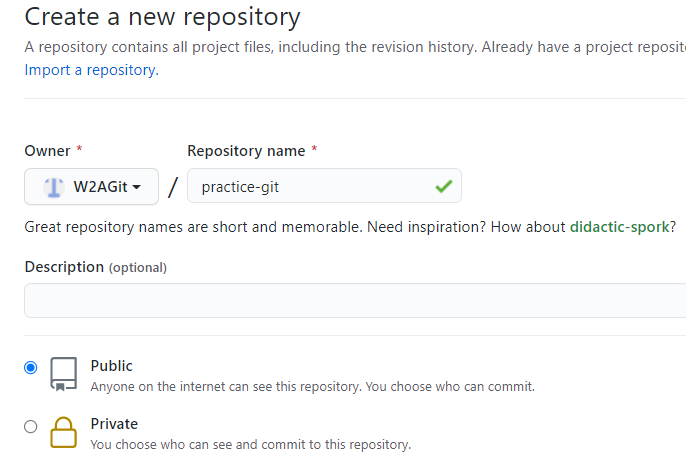
Enter desired repository name in the ‘Repository name’ field. Select ‘Public’ if you want to share your GitHub repository with anyone or else select private, see below
Click ‘Create repository’
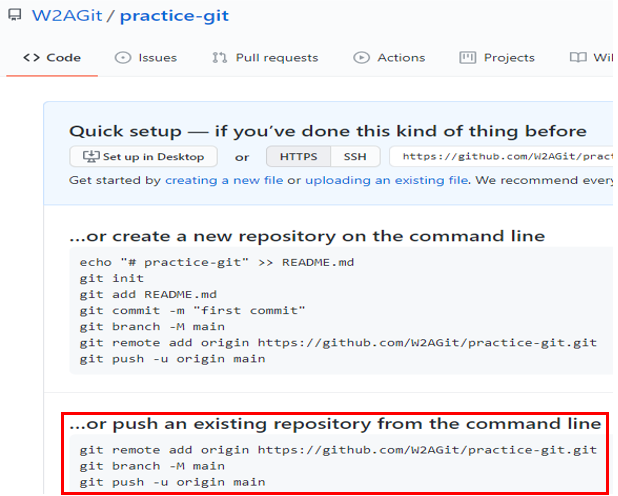
The below page comes up, so the link of github repository is (in your case, the link might be different)
https://github.com/W2AGit/practice-git
Look at the highlighted red box below. We will be using these commands to push an existing local repository to GitHub
Also Read: Tutorial 3: Create Git Repository
Push local GIT repository to remote GitHub (git push)
Make sure that you are in your local working Git directory (gitrepo) and when you ‘ls’ you should see the 3 files and a folder
Let us go back to our GitHub repo page and copy the first line
Paste it and execute
The syntax for the above command:
git remote add origin https://github.com/<yourGITusername>/<yourGITrepositoryName>.git
Below is the snapshot that shows username and repository name
Now, before we execute the next command, there is one thing to notice here. When you execute ‘git branch’ command, you will see that we get ‘master’ in the output. This means that we are right now working on a master branch
Even the below line shows (master) inside brackets
Now the thing is that, GitHub has recently renamed the ‘master’ branch to ‘main’ branch, though both are same
So our next command switches the branch from ‘master’ to ‘main’
Let us execute this command. Now you can see that we have switched to ‘main’ branch
The below command outputs ‘main’ this time
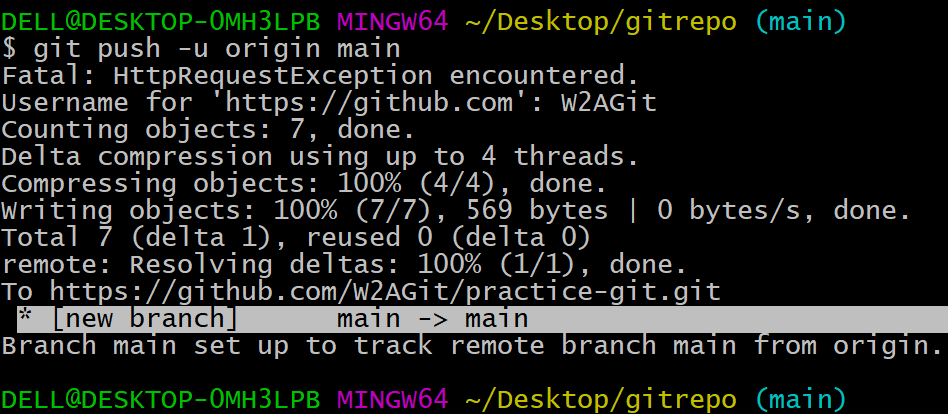
Now let us copy the last command
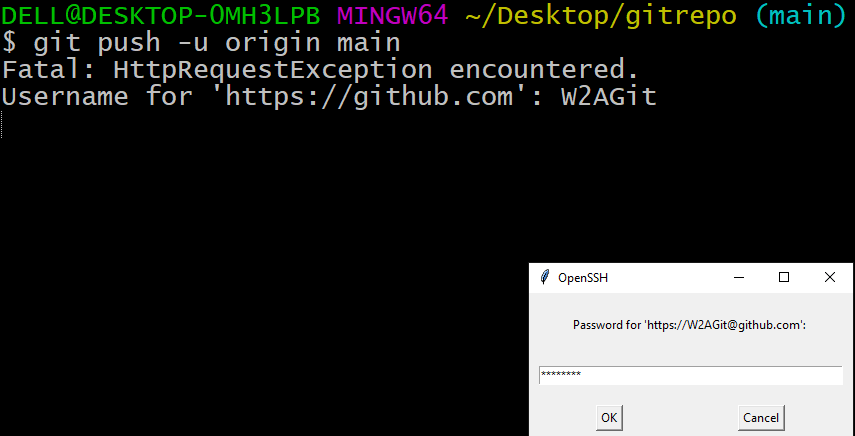
Paste it and execute. Type username and password
Click Ok
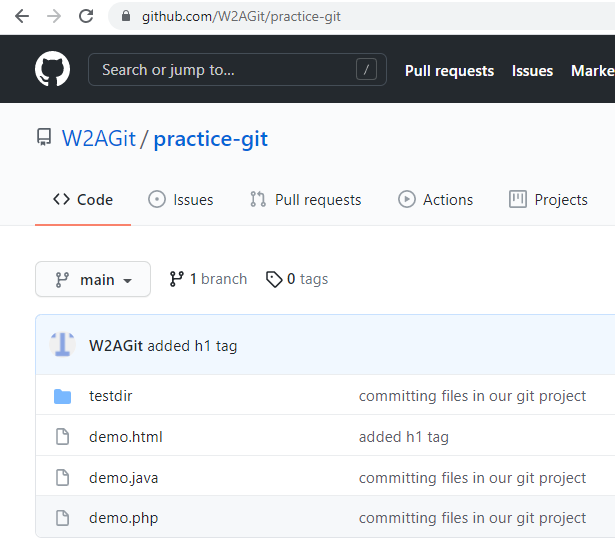
Let us now launch our GitHub repo https://github.com/W2AGit/practice-git
notice below that we see the files and folder. The second column shows us the commit messages that we added
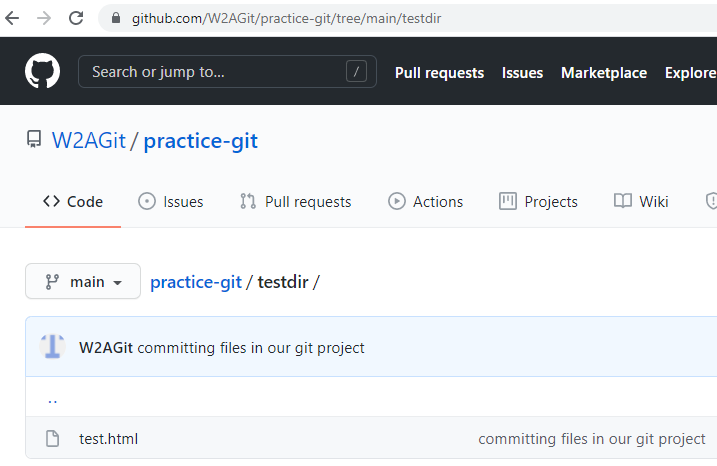
If we go inside the folder, we can see test.html
Also, you can see ‘2 commits’ link, see below
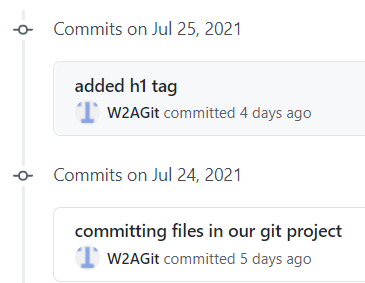
Click ‘2 commits’ link, you would see the respective commits, see below
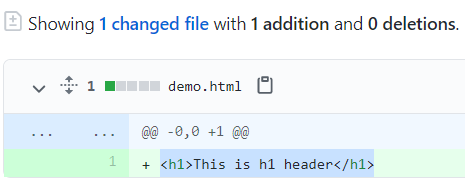
If you click on ‘added h1 tag’ link, you can see the change (see + sign below)
If you now add a new file to local repository, you can perform the following steps to push the file to GitHub:
touch newfile.html
git add .
git commit –m “some description”
git push
Once you perform above steps, refresh the GitHub repo, you should see the new file. You should see “3 commits’ and when you click this link, you should see the new commit message.
Also Read: Tutorial 5: Commit files to GIT
This is how we push our files from local working directory to remote GitHub repo.
Thank you for reading!


