Welcome to second tutorial in Cypress series – Install Cypress on Windows (step by step)
What you will Learn :
a) Download Node.js & NPM
b) Set NODE_HOME Environment variable
c) Create cypress working folder
d) Generate package.json
e) Install cypress
f) Download visual studio code editor
g) Import cypress working folder in visual studio code editor
h) Steps to install cypress in another working folder
i) Steps to uninstall cypress
a) Download Node.js & NPM
Google search ‘download nodejs’

Click the above link

Download windows installer

To install node.js, double click msi file

Keep clicking Next and accept license
You can see below that ‘npm package manager’ also gets installed.
Note: npm is ‘node package manager’

Keep clicking Next and finish the installation
You can go to the below folder (this is the place where nodejs gets installed)

This completes Node.js installation.
b) Set NODE_HOME Environment variable
We will now add node.js to the environment variables path so that we can run nodejs from anywhere in our system.
Just copy the location where we have installed node.js

Right click ‘This PC’ >Properties > ‘Advanced system settings’ > ‘Environment variables’ > Click ‘New’ under ‘System variables’
Enter NODE_HOME in ‘Variable name’ field and enter C:\Program Files\nodejs in ‘Variable value’ field

Click OK. You should see NODE_HOME under System variables
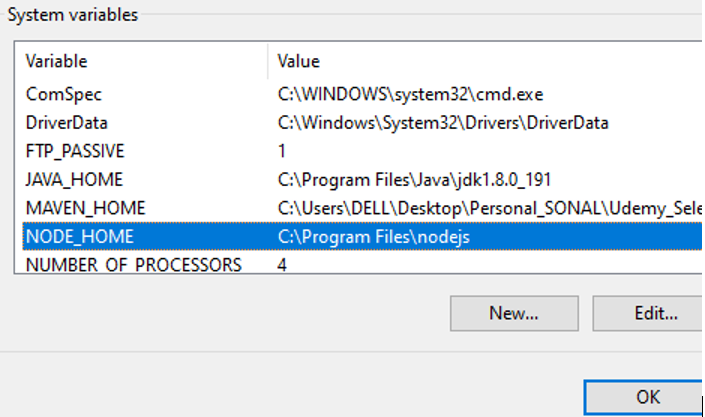
Click OK to close above windows.
c) Create cypress working folder
We will now create a working folder where we will be creating all our cypress tests. We can create this blank folder anywhere in the system

d) Generate package.json
The reason we create package.json file is because Npm reads this file & installs required software (example cypress software). So basically, we have to specify the cypress dependency inside package.json and than we have to run the NPM command. So the npm command will read the package.json and will download the required s/w.
Note: package.json is similar to pom.xml file in maven java project. We mention the required dependencies in pom.xml
Let us now see how to generate this package.json using the command line. To do that, go to cypress working folder location that we created above

Type cmd and hit enter to open command prompt

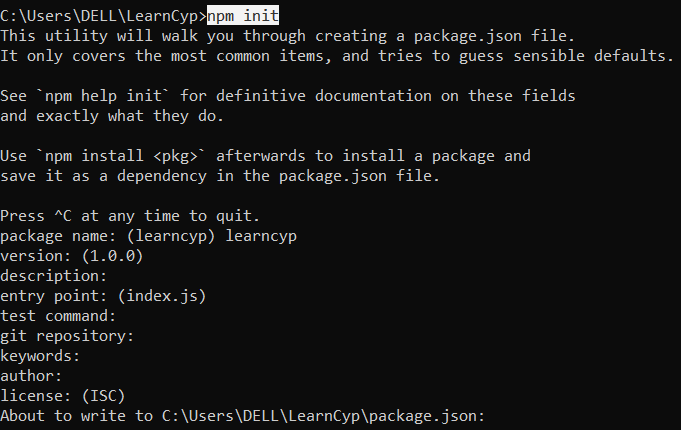
Run the command ‘npm init’
Note: npm was already installed along with node.js installation

See above, it is asking for the package name, you can give any package name, example cypressautomation

Keep hitting ‘Enter’ for rest of the fields.
Notice that it is asking us that it is about to generate package.json and if we are Ok or not
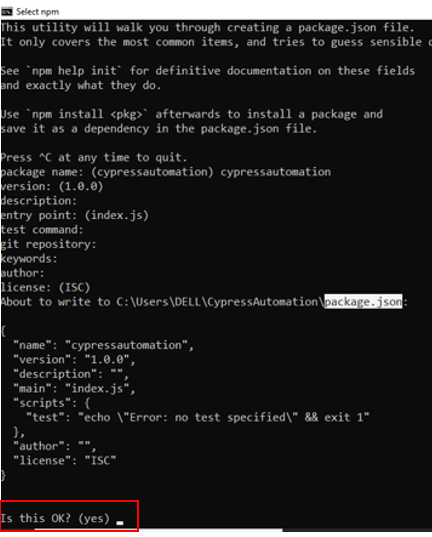
Type yes
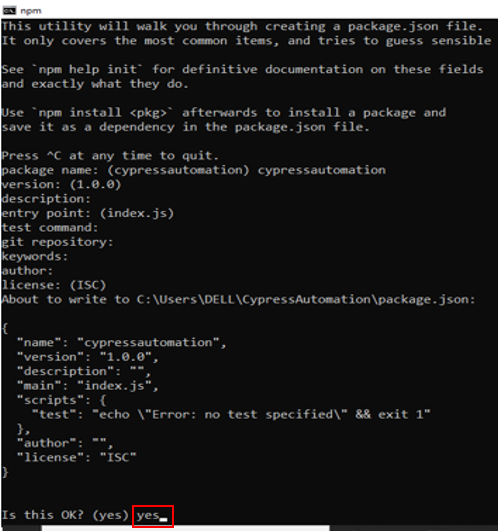
Hit Enter to exit the process
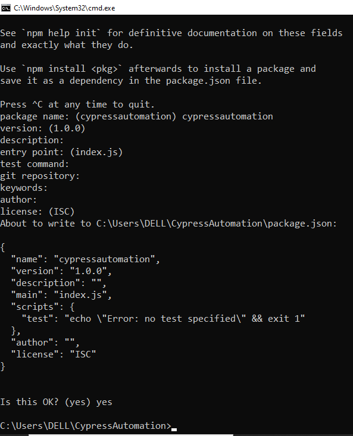
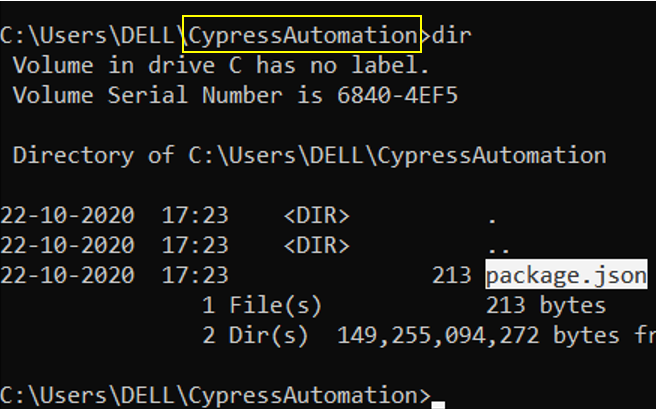
Execute ‘dir’ command, you will see that package.json file is created

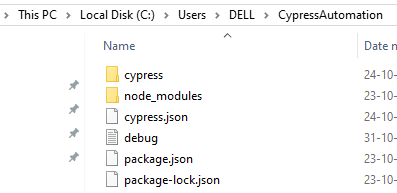
Go to the cypress working folder, you will find package.json

If you open this json with any editor, you can see the default information. Presently we do not have any cypress software dependency entry inside this json, since we haven’t yet installed cypress

e) Install cypress
Let us now see how to install cypress. Just google for ‘cypress installation’ or click the below link to find instructions on how to install cypress
https://docs.cypress.io/guides/getting-started/installing-cypress.html#npm-install
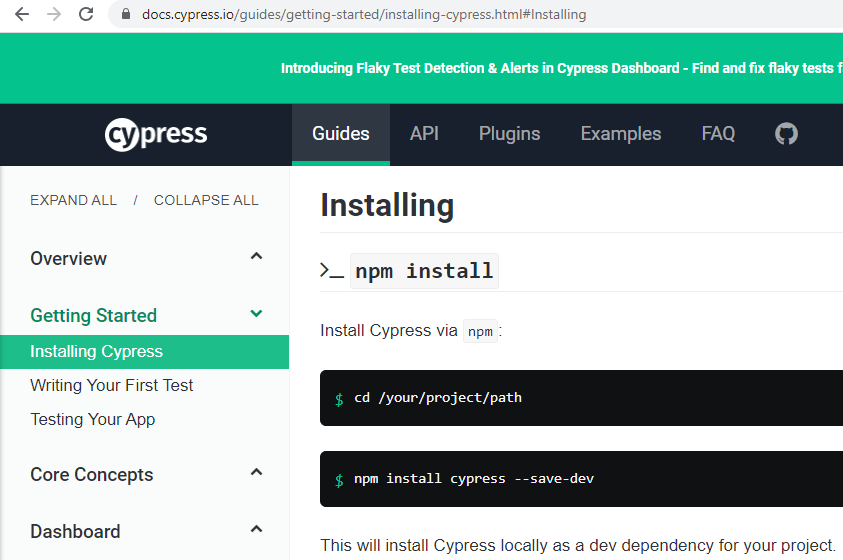
Let us to cd to project location or project path
Next, execute the command: npm install cypress –save-dev

Let us understand this command.
npm install cypress will i) automatically downloads cypress and ii) make an entry in the package.json file
–save-dev will save cypress entry inside package.json.
So suppose you move this project ‘CypressAutomation’ to some other location, the package.json will still contain an entry for cypress. So you just have to execute the command npm install cypress. You don’t have to again execute the entire command npm install cypress –save-dev
So the entire command npm install cypress –save-dev needs to be executed only for first time.
It might take around 30 minutes for the complete installation of cypress. So we have installed cypress successfully!

Now go to the cypress working location C:\Users\DELL\CypressAutomation and open package.json
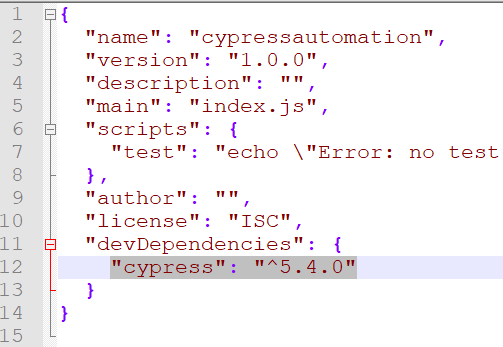
You will now see an entry for cypress software that we have installed

f) Download visual studio code editor
To write our cypress automation javascript scripts, we need Visual Studio code editor (just like we use Eclipse IDE to write java code).
So let us see how to install Visual Studio code editor. Go to the site https://code.visualstudio.com/download
Click ‘Windows’ and download application (exe) file ‘VSCodeUserSetup-x64-1.44.2’
Double click this exe & complete the installation to open the Visual studio code editor
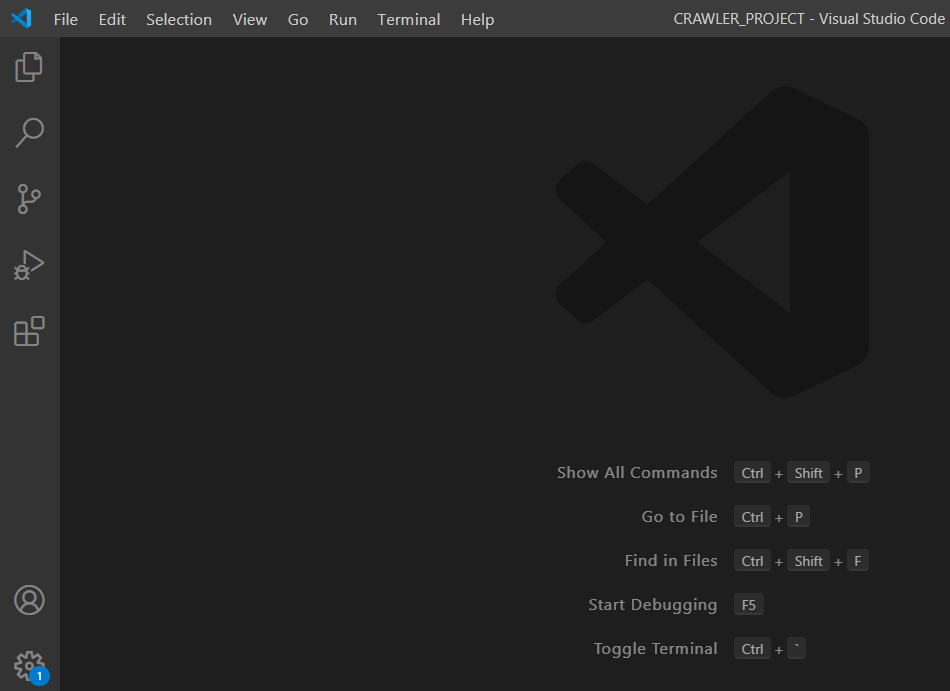
Visual studio code editor will get installed under location (location might be different in your machine): C:\Users\DELL\AppData\Local\Programs\Microsoft VS Code

g) Import cypress folder in visual studio code editor
Now we need to import the cypress working folder

Go to the location where cypress working folder was created, see below

Click ‘Select Folder’. The below window would come up

Our project setup is now completed in visual studio code editor. Close the welcome screen.
By default, you can see package.json etc

Now expand node_modules folder. These are the dependencies that got downloaded automatically when we installed cypress. You can also see the cypress component @cypress

Now we are ready to write our cypress automation scripts. So we have completed all the steps & have successfully installed cypress on windows machine!!
h) Steps to install cypress in another working folder
If you want to setup/install cypress in another working folder, simply repeat the steps c – e:
–>create new cypress working folder
![]()
![]()
–>go to command line & cd to the folder
![]()
–>npn init (to create package.json)
–>npm install cypress –save-dev
![]()

i) Steps to uninstall cypress
To uninstall cypress module, go to cypress working directory and run the command
npm uninstall cypress –save-dev

Next, open package.json file from the working location, you will see that cypress is removed from devDependencies


Also, you will notice that cypress component is removed from the node_modules folder

However, if you have setup/installed cypress in any other folder previously, that installation will still be intact
Thank you for reading!
