What you will Learn
Introduction to GIT
Let us suppose you have been developing your new website on your local machine for quite a while now
After few days, you decide that you are ready with your website to deploy it on internet. So you deploy your website. Anyone on the internet can visit your website.
On your local computer, you have a local copy or version of the website. So we have our website on internet plus a local copy
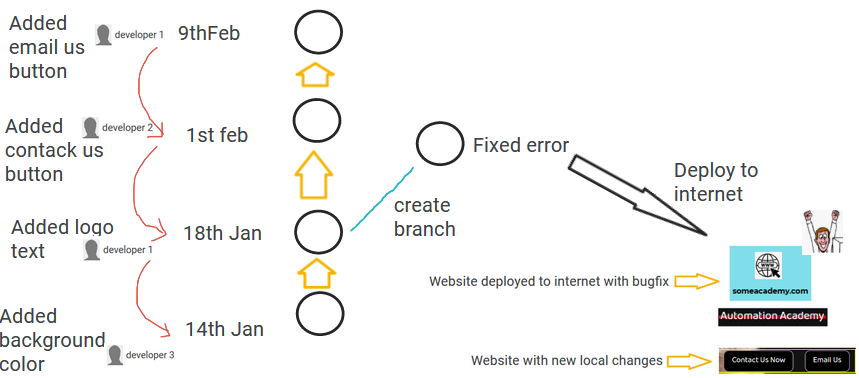
After few days, you decide to make some updates to your local website version. Let us suppose, you have added ‘Contact Us Now’ and ‘Email Us’ buttons to your local website version. Please remember that this local version is NOT yet deployed to internet, the changes are just in your local machine
Also read: DevOps Overview
Next day when you wake up, one of your website user reports an error on the Logo title (there is a double ‘e’ instead of single ‘e’ in the word ‘Acadeemy’), see below
So we now decide to correct the error on our deployed website. But wait a minute, we have recently added 2 buttons on our local website version which are not yet ready for deployment.
The good news is we can still update the contents of our deployed website without overriding all the changes that we made locally. Git will help us in doing that! GIT is the most popular SCM (source code management system) system today, also called as Version control system (VCS).
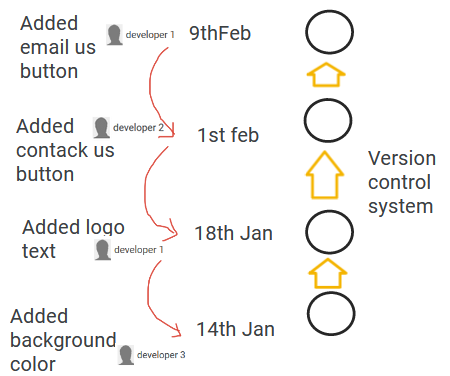
Using Git, as a version control system, we can go back in time without losing any new changes and can work with a different version of our codebase. This way you always have all the versions stored and it is easy to go back in time, see below
Each developer has access to entire project code history. Git will have the record of the change that was made, who made the changes and when the change was made.
Currently we have 2 versions of the website. The local version contains some updates and the deployed version has a bug. With Git, we can go back in time and look at the state of the website when we deployed the logo text version (without losing the new changes). We can then fix the logo text typo without losing any of our work. After fixing the bug, we can deploy the fix to internet, see below
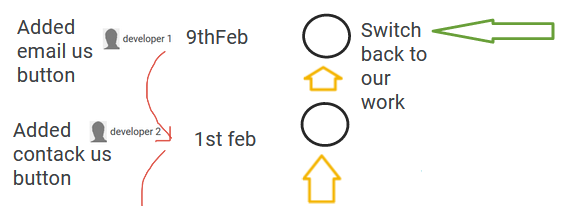
After fixing the bug and deploying to internet, we can again switch back to the version where we are making the changes/updates
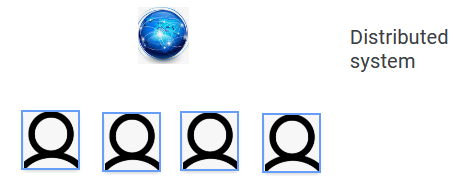
Git is also a distributed system. This means that Git has remote repository (stored in a server) and a local repository (stored locally in every developer machine). Every developer has full copy of the codebase, see below
So this was a brief introduction to any version control system.
Also read: Web Driver Interface
Git components
There are 4 components of Git:
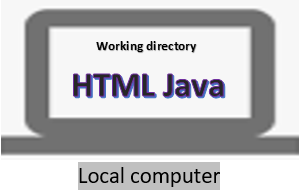
- Working directory (local computer)
- Git Staging area (in your local computer)
- Commit history (in your local computer)
- Remote server
Let us see how these are connected.
Let us suppose you are working on your local computer and your working directory has some source code files, example: html files, java files etc
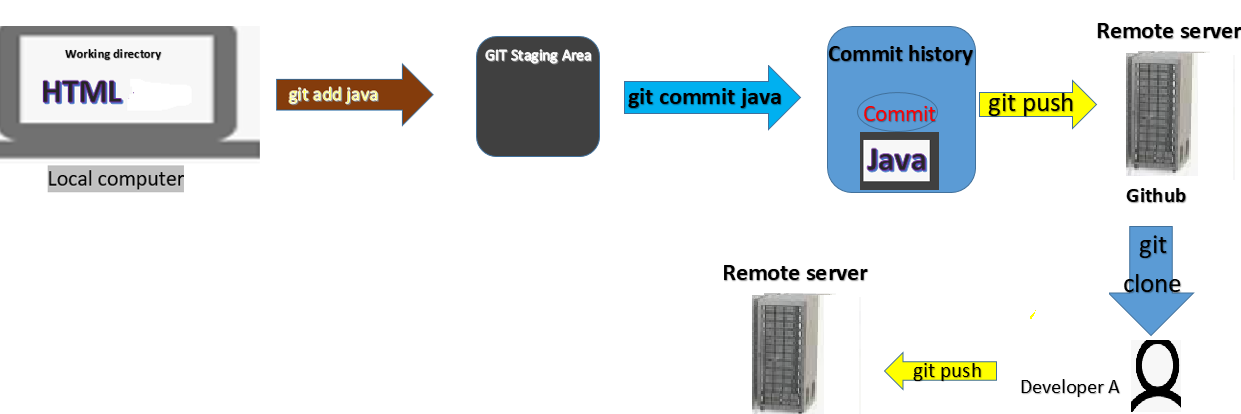
Now in order to work with GIT, you have to first add the respective file to Git Staging area (that is also in your local machine) using ‘git add <finename>’ command, see below. Once you have added the file to staging, you can now start developing your code
Next, suppose that your java code is now working as expected. In that case, you will commit the file from staging area to ‘Commit history’ area (that is also in your local machine) using ‘git commit’ command
A commit simply is a safe point. So basically, the commit now represents the snapshot of our changes. Similar process is repeated for other files as well.
Remember all of the above is happening in our local computer machine. The problem here is, if our machine crashes, all of our work will get lost. So the solution would be to transfer our changes to remote server, example Github.
Now how we transfer the files from our local machine to remote Github server? We do it using ‘git push’ command
So, in essence, Git repository is a collection of various different files having different versions.
Now we can share the remote server details with different developers working globally. Let us say we have 2 developers: ‘Developer A’ in India and ‘Developer B’ in ‘UK’.
The ‘Developer A’ can download the project from remote server to his/her local machine using ‘git clone’ or ‘git pull’ command. So the developer will have a copy of entire project on his local machine
Once the developer is done with his work, he pushes the code the remote server, see below
Similarly, developer B (in UK) can perform ‘git pull’ to get a copy in his/her local machine, once done with the development, can ush the changes to remote server.
So the developers can work on the same project even though they are separated geographically.
This is the advantage of GIT.
Download & Install GIT on Windows
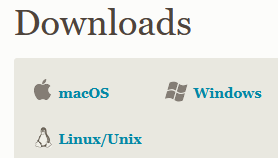
Go to https://git-scm.com/downloads and download git for windows
Install git.
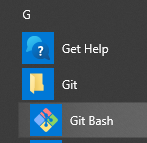
After the installation, search for ‘git bash’ in your windows, see below
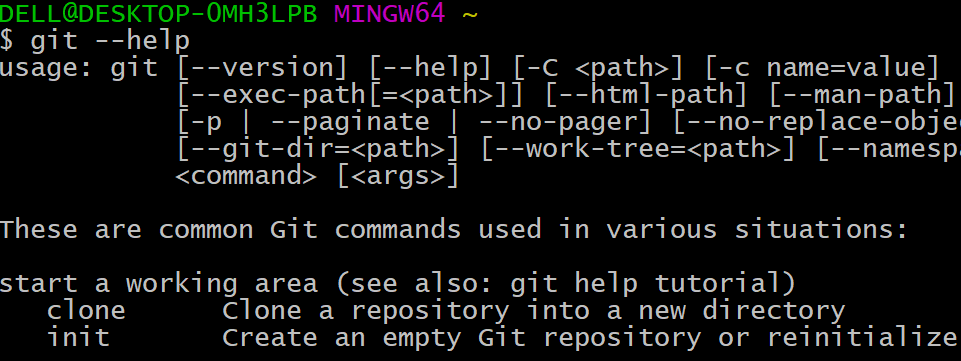
Launch ‘git bash’ (this is preferred terminal for git)
Run the ‘git –help’ command to see some output
‘git version’ command will return the git version installed
This ensures that we have successfully installed GIT in our local system!
Note: You can also execute the same GIT commands in windows command prompt as well.
Thank you for reading!


